Kubernetes is a powerful and flexible open source container orchestration platform that enables you to deploy, scale, and manage containerized applications with ease.
In this article, we’ll look at the main benefits and features of Kubernetes. And also how it can help you make it easier to build, deploy, and manage your apps.
What is Kubernetes?
Kubernetes, also known as K8s, is an open-source container orchestration system that was originally developed by Google. It is designed to automate the deployment, scaling, and management of containerized applications, making it easier for developers to build, deploy, and run their applications in a consistent and reliable way.
Key Features of Kubernetes
Container orchestration: Kubernetes makes it easy to deploy and manage multiple containerized applications on a single host or across a cluster of hosts.
Auto-scaling: Kubernetes can automatically scale up or down the number of containers running in a cluster based on demand, helping to ensure that applications always have the resources they need to run smoothly.
Load balancing: Kubernetes can automatically distribute traffic across containers, helping to ensure that applications are highly available and can handle high levels of traffic.
Self-healing: Kubernetes can automatically detect and replace failed containers, helping to ensure that applications are always running and available.
Configuration management: Kubernetes includes a range of tools and features for managing and deploying applications, including configuration files, secrets management, and rolling updates.
Benefits of Using Kubernetes
There are many benefits to using Kubernetes for container orchestration, including:
Improved efficiency: By automating the deployment and management of containerized applications, Kubernetes can help you streamline your development and operations processes, reducing the time and effort required to deploy and manage applications.
Enhanced scalability: Kubernetes makes it easy to scale up or down the number of containers running in a cluster, helping you to ensure that your applications always have the resources they need to meet demand.
Improved reliability: With features like self-healing and load balancing, Kubernetes can help you ensure that your applications are highly available and can handle high levels of traffic.
Greater flexibility: Kubernetes can run on a wide range of platforms, including on-premises, in the cloud, or in hybrid environments, making it easy to deploy and manage applications in the way that best meets your needs.
Getting Started with Kubernetes
If you’re interested in using Kubernetes for container orchestration, there are a few steps you can take to get started:
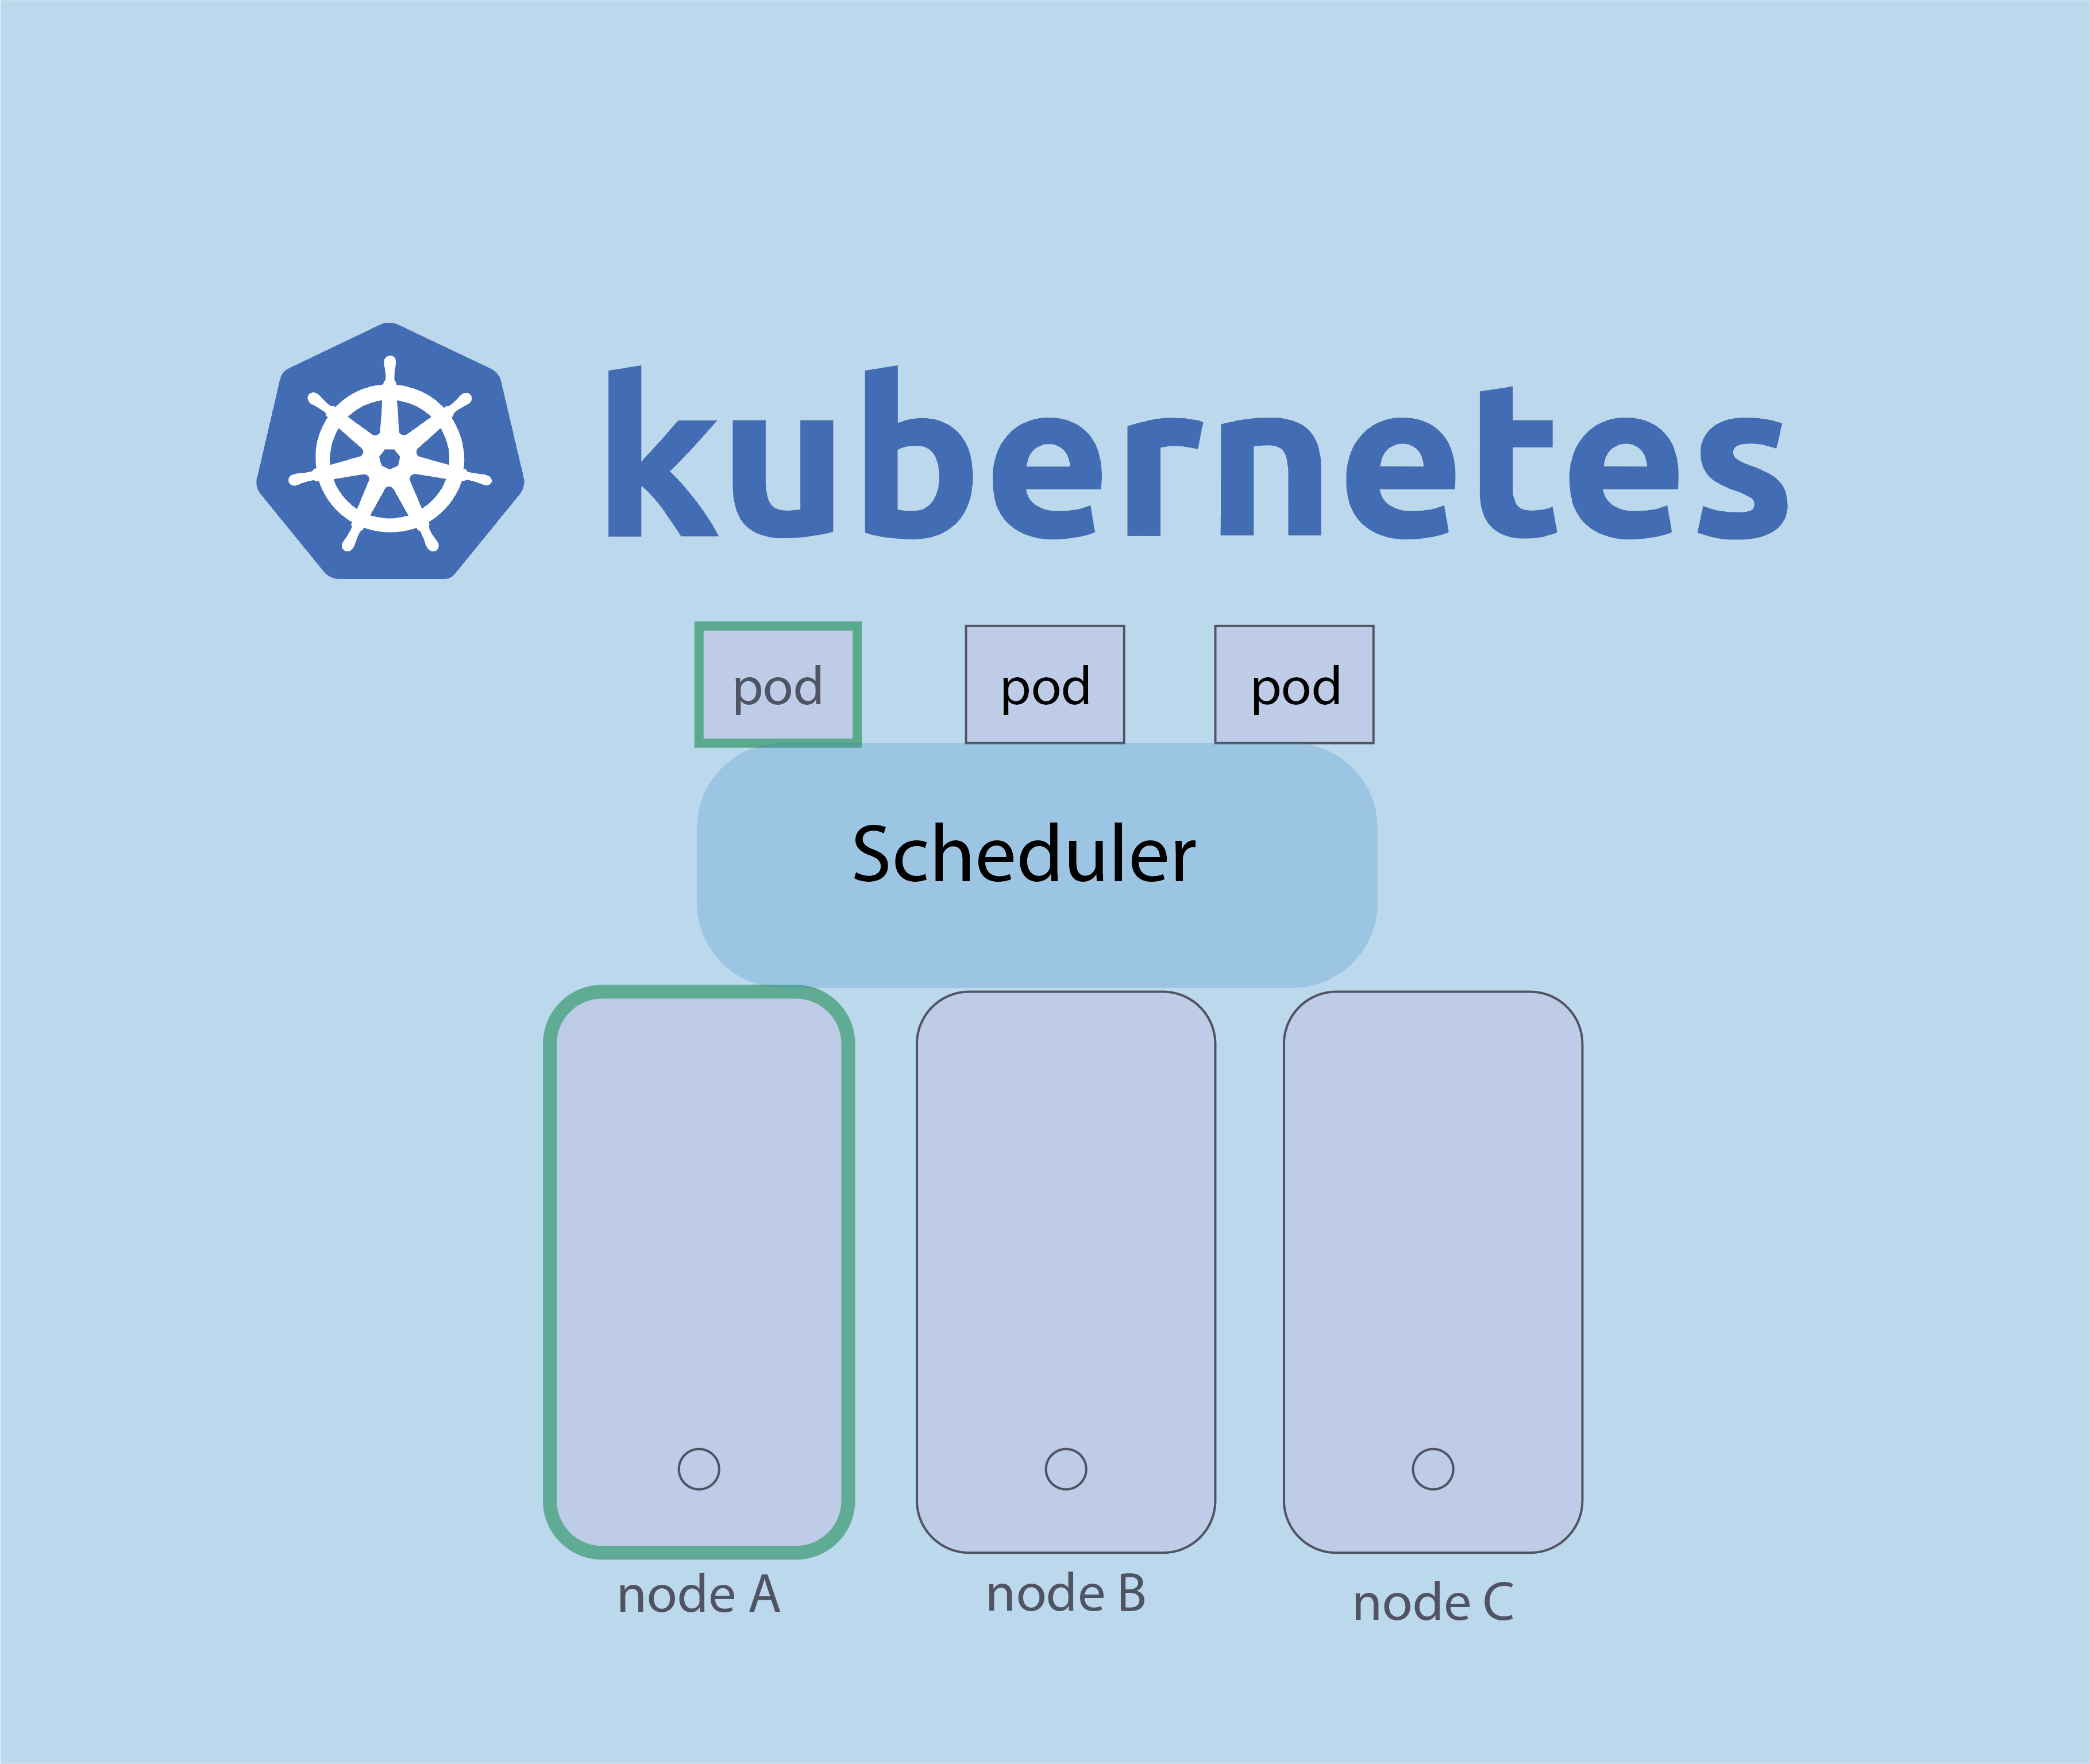
- Learn the basics: Familiarize yourself with the key concepts and terminology of Kubernetes, including pods, nodes, clusters, and namespaces.
- Set up a development environment: Install and set up a local Kubernetes development environment, such as minikube, to get started with experimenting and testing.
- Explore the documentation: Check out the official Kubernetes documentation to learn more about how to use the platform and take advantage of its many features.
- Join the community: Join online communities and forums to connect with other Kubernetes users and learn from their experiences.
Kubernetes and Devops :
In a DevOps environment, Kubernetes can be used to manage and deploy containerized applications in a consistent and reliable way. This allows developers to focus on writing and improving their code, while the IT team can use Kubernetes to deploy and manage the applications.
By using Kubernetes in a DevOps environment, organizations can improve the speed and efficiency of their software development and deployment processes. They can also improve the reliability and scalability of their applications, as Kubernetes provides features such as automatic rollouts and rollbacks, horizontal scaling, and self-healing capabilities.
how to Set up a development environment using minikube
Minikube is a popular tool for setting up a local Kubernetes development environment. It allows you to run a single-node Kubernetes cluster in a virtual machine on your local machine, making it easy to get started with experimenting and testing with Kubernetes.
Here are the steps to set up a development environment using minikube:
Install minikube:
The first step is to install minikube on your local machine. You can download the latest version of minikube from the official website (https://minikube.sigs.k8s.io/) and follow the instructions to install it.
Install a hypervisor:
Minikube requires a hypervisor to run the virtual machine in which the Kubernetes cluster will be installed. You can use any of the popular hypervisors, such as VirtualBox, VMware, or Hyper-V. Follow the instructions provided by the hypervisor provider to install it on your machine.
Start minikube:
Once you have minikube and the hypervisor installed, you can start minikube by running the following command in your terminal :
# minikube start
This will start the virtual machine and install the Kubernetes cluster in it.
Verify the installation:
To verify that the Kubernetes cluster has been installed correctly, you can use the following command to check the status of the cluster :
# kubectl get nodes
This should return a list of nodes in the cluster, including the minikube node.
Deploy an application:
You can now deploy an application to the cluster using the kubectl command-line tool. For example, to deploy a simple nginx web server, you can run the following command:
# kubectl create deployment nginx --image=nginx
This will create a deployment of the nginx image in the cluster.
Expose the application:
To make the application accessible from outside the cluster, you need to expose it using a service. You can do this by running the following command :
# kubectl expose deployment nginx --type=LoadBalancer --port=80
This will create a load balancer service that exposes the nginx deployment on port 80.
Access the application:
To access the application from your local machine, you can use the following command to get the URL of the service :
# minikube service nginx –url
This will return the URL of the service, which you can use to access the nginx web server in your web browser.
That’s it! You now have a local Kubernetes development environment set up using minikube, and you can start experimenting and testing with Kubernetes.


nmtui : Configurer une adresse IP sous Linux
Empêcher les utilisateurs sudoers d’exécuter des cmds sudo
Comment installer Nginx on Rocky Linux 9
dd (Disk Dump)
Fail2Ban : How to protect Linux services