So you are exciting to learn kubernetes ? This guide is for you.
In this blog post you will learn what is kubernetes, why we need it and how to deploy a just simple app on kubernetes cluster. To make things concrete, we’ll use the widely popular Nginx web server as our example application
Before we begin, it is recommended that you have a base understanding of what is Docker and container.
Understanding Docker as a 11 years old
How to install docker on Ubuntu 22.04
How to install Docker in CentOS 7
Containerization and its Advantages over Virtualization
What is kubernetes ?
Kubernetes, often abbreviated as K8s, is an open source platform that help to deploy and manage containerized applications.
Why we need Kubernetes ?
To better understand, let’s break down the main differences between Docker and Kubernetes.
As we know, docker allows you to package an application and its dependencies into a standardized unit called a container. And provides a user-friendly command-line interface and graphical user interface for managing containers.
The problem is, when you have many containers it’s become complicated to manage them all. Imagine one of your container that host a critical application is down, with docker you need to recreate it. That’s why docker is not recommended in a production environnement.
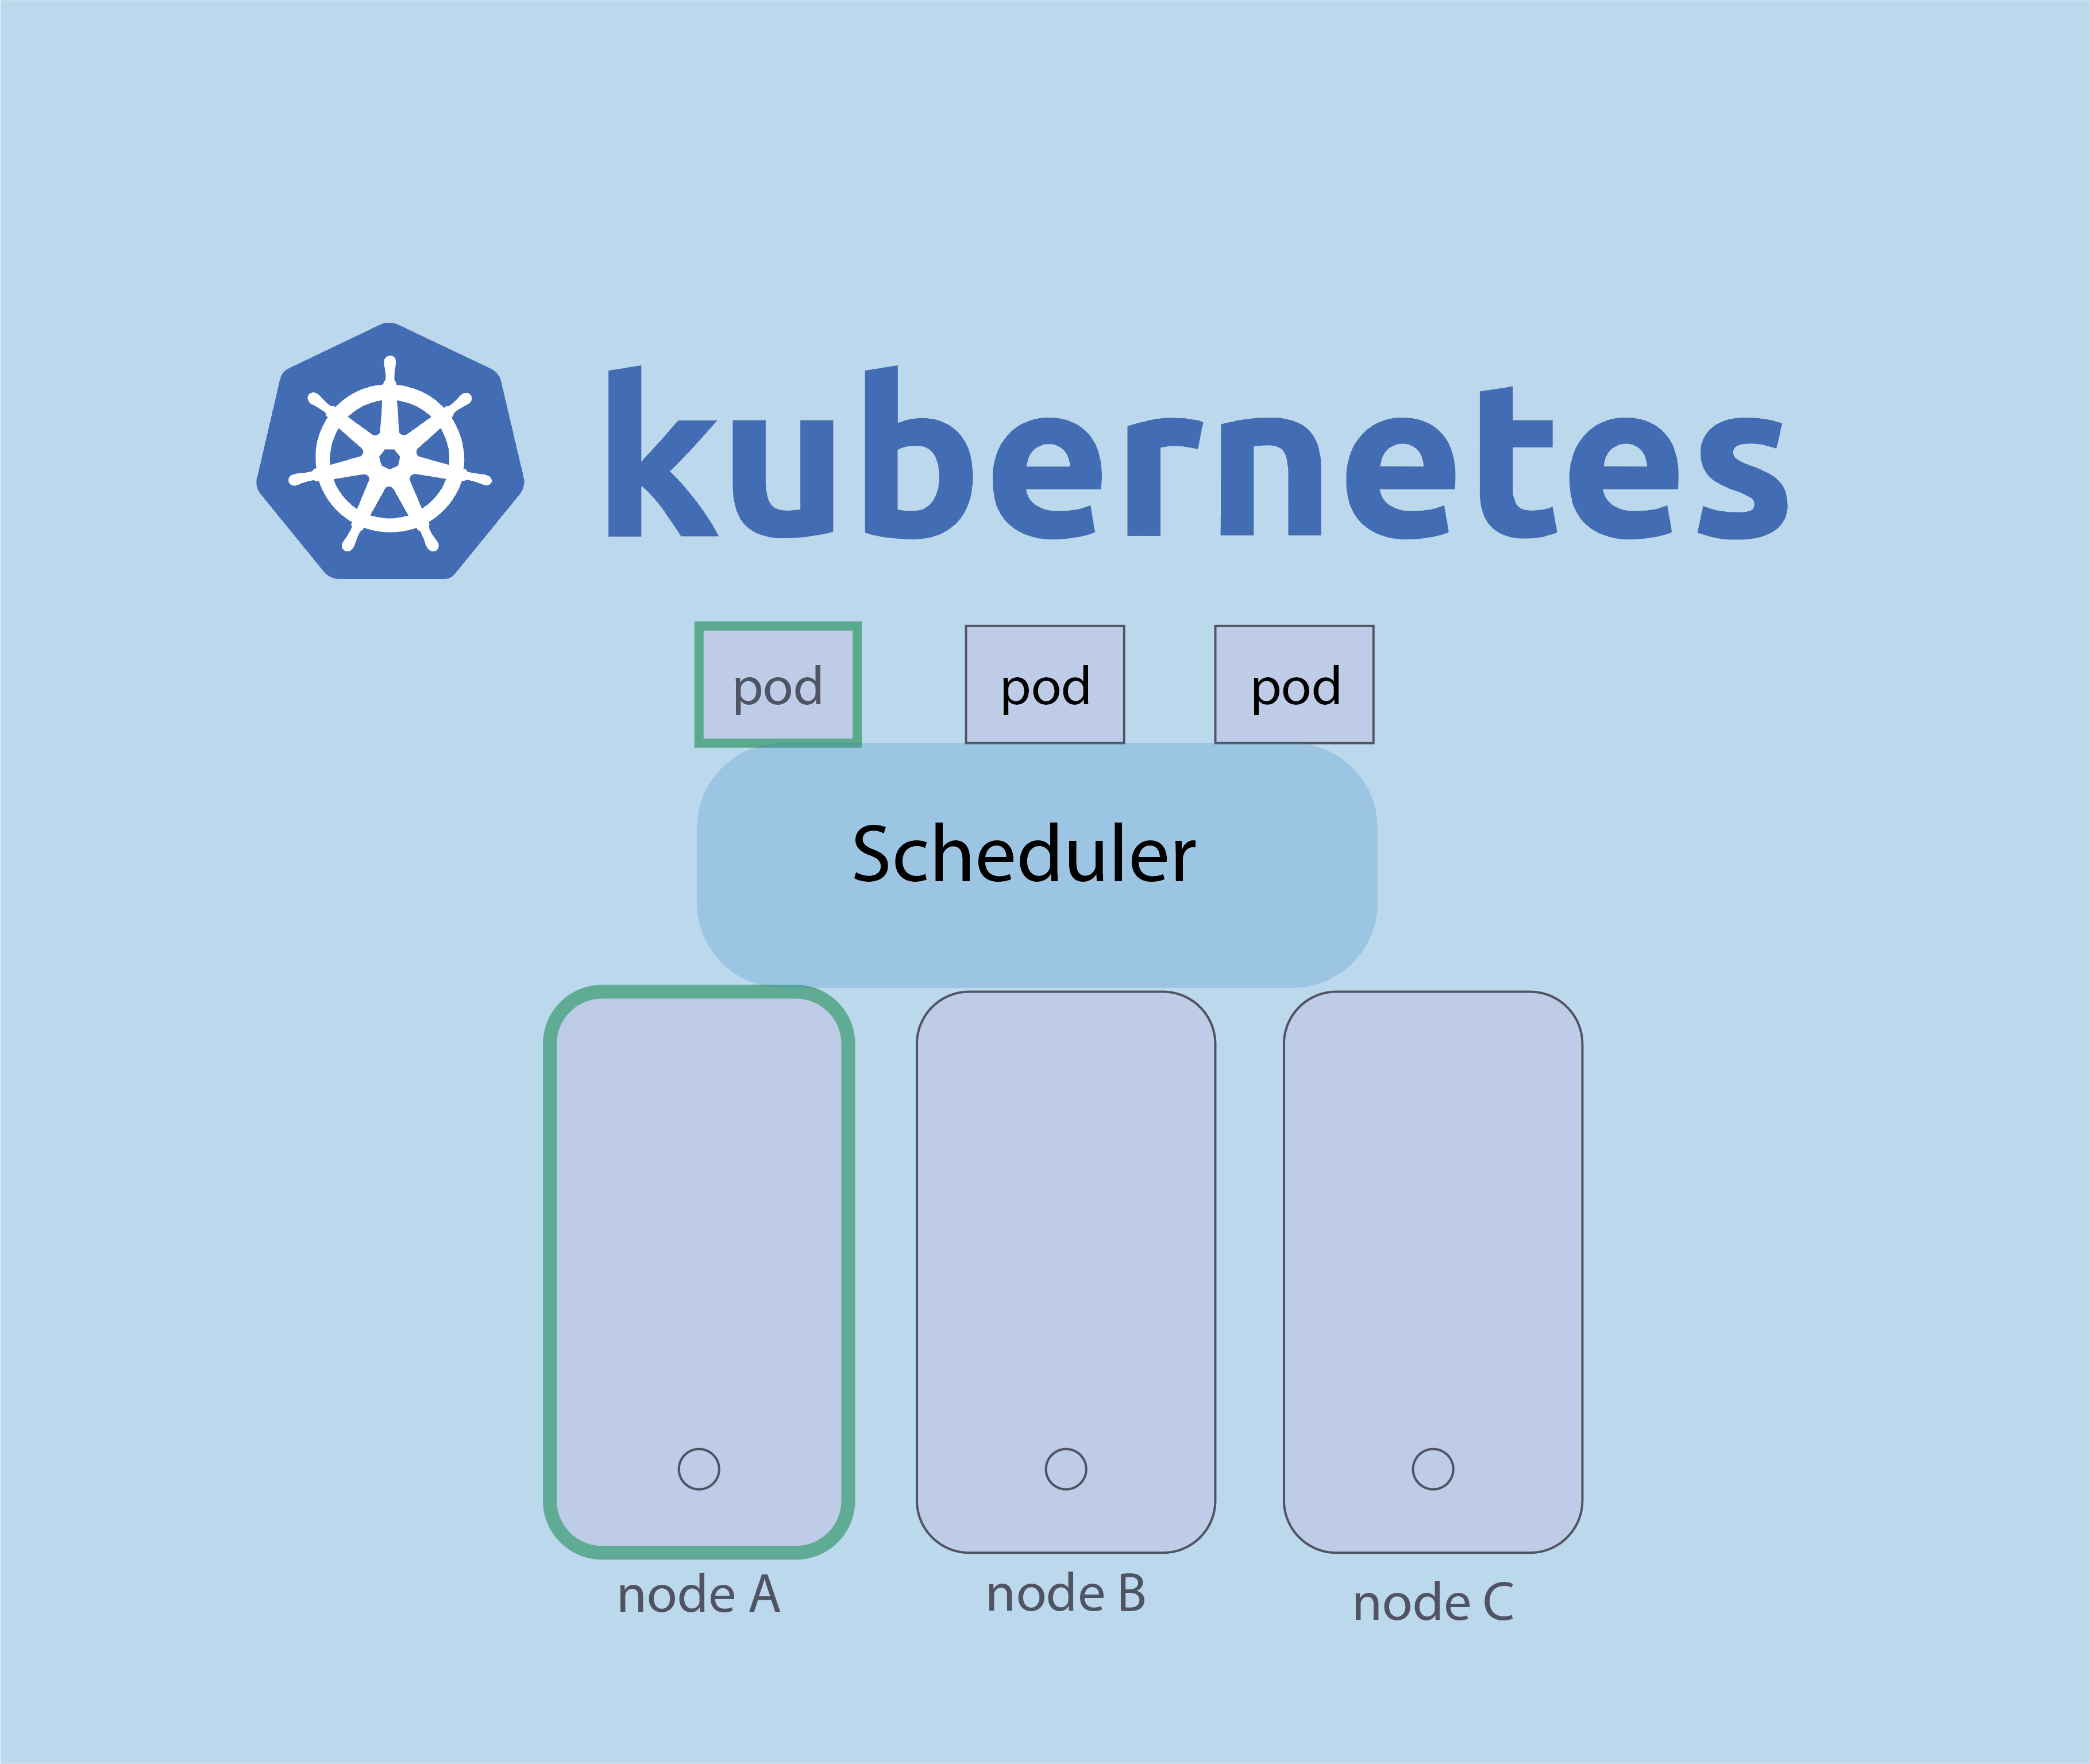
That why kubernetes come to, it’s a container orchestration platform. It takes care of automating the deployment, scaling, and management of containerized applications.
For exemple, In case of K8s, if a container goes down, it create another because kubernetes ensures a specified number of identical copies of containers are running at all times.
There are others advantage of kubernetes that will discover in this Blog.
Prerequisites
Before diving into the deployment process, ensure you have the following prerequisites:
- Kubernetes Cluster: You should have a running K8scluster. If you don’t have one, tools like Minikube or managed services like Google Kubernetes Engine (GKE) can help you set up a local or cloud-based cluster.
- kubectl: This command-line tool is your Swiss Army knife for interacting with your K8s cluster. Make sure it’s installed and configured to point to your cluster.
- Docker: We’ll be using Docker to containerize our Nginx application.
Befor we begin, we must first understand some object in kubernetes.
Pods : is the smallest deployable unit in Kubernetes that hosts the application container. It could be a single container or a small group of tightly coupled containers.
Deployements : in Kubernetes, deployements is a higher-level abstraction that enables declarative updates to applications. It allows you to describe the desired state of your application and Kubernetes takes care of the details to make the current state match the desired state.
With deployment, If a Pod goes down or needs to be scaled up/down, the Deployment controller automatically adjusts the number of running Pods.
Deployments support rolling updates, allowing you to change the version of your application without downtime. If something goes wrong, you can easily roll back to a previous version.
Replicaset : We saw that with deployment, If a Pod goes down or needs to be scaled up/down, the Deployment controller automatically adjusts the number of running Pods, that’s is done by Replicaset.
Now you are ready to go Next.
Step 1: Create Nginx Deployment YAML
First, let’s create a Kubernetes Deployment YAML file for Nginx. Save the following content in a file named nginx-deployment.yaml:
apiVersion: apps/v1
kind: Deployment
metadata:
  name: nginx-deployment
spec:
  replicas: 3
  selector:
    matchLabels:
      app: nginx
  template:
    metadata:
      labels:
        app: nginx
    spec:
      containers:
      - name: nginx
        image: nginx:latest
        ports:
        - containerPort: 80
Thigs need to be explained right ? let’s go :
replicas:3specifies that we want three instances (pods) of our Nginx application.selectorandmatchLabelsdefine how k8s should select which pods to manage.templatedescribes the pod template for the deployment, including the container image (Nginx) and the exposed port (80).
Step 2: Apply the Deployment
To apply the deployment YAML and create the Nginx pods, run the following command :
# kubectl apply -f nginx-deployment.yaml
K8s will now create the specified number of Nginx pods and manage their lifecycle.
Step 3: Expose Nginx Service
To make Nginx accessible from outside the cluster, create a Kubernetes Service. Save the following content in a file named nginx-service.yaml:
apiVersion: v1
kind: Service
metadata:
  name: nginx-service
spec:
  selector:
    app: nginx
  ports:
    - protocol: TCP
      port: 80
      targetPort: 80
  type: LoadBalancer
Apply the service YAML:
# kubectl apply -f nginx-service.yaml
Kubernetes will create a service and allocate an external IP address if using a cloud provider. If you’re using Minikube, you can access Nginx using the Minikube IP and NodePort.
Step 4: Scale the Deployment
One of k8s’ strengths is its ability to scale applications effortlessly. To scale our Nginx deployment to, say, five replicas, run:
# kubectl scale deployment nginx-deployment --replicas=5
Kubernetes will automatically adjust the number of running pods.


Protocole du routage
dd (Disk Dump) : 7 exemples pratiques d’utilisation
Sudo : Comment paramétrer sudoers
nmap : les 12 commandes que vous devez connaître
Fail2Ban : How to protect Linux services