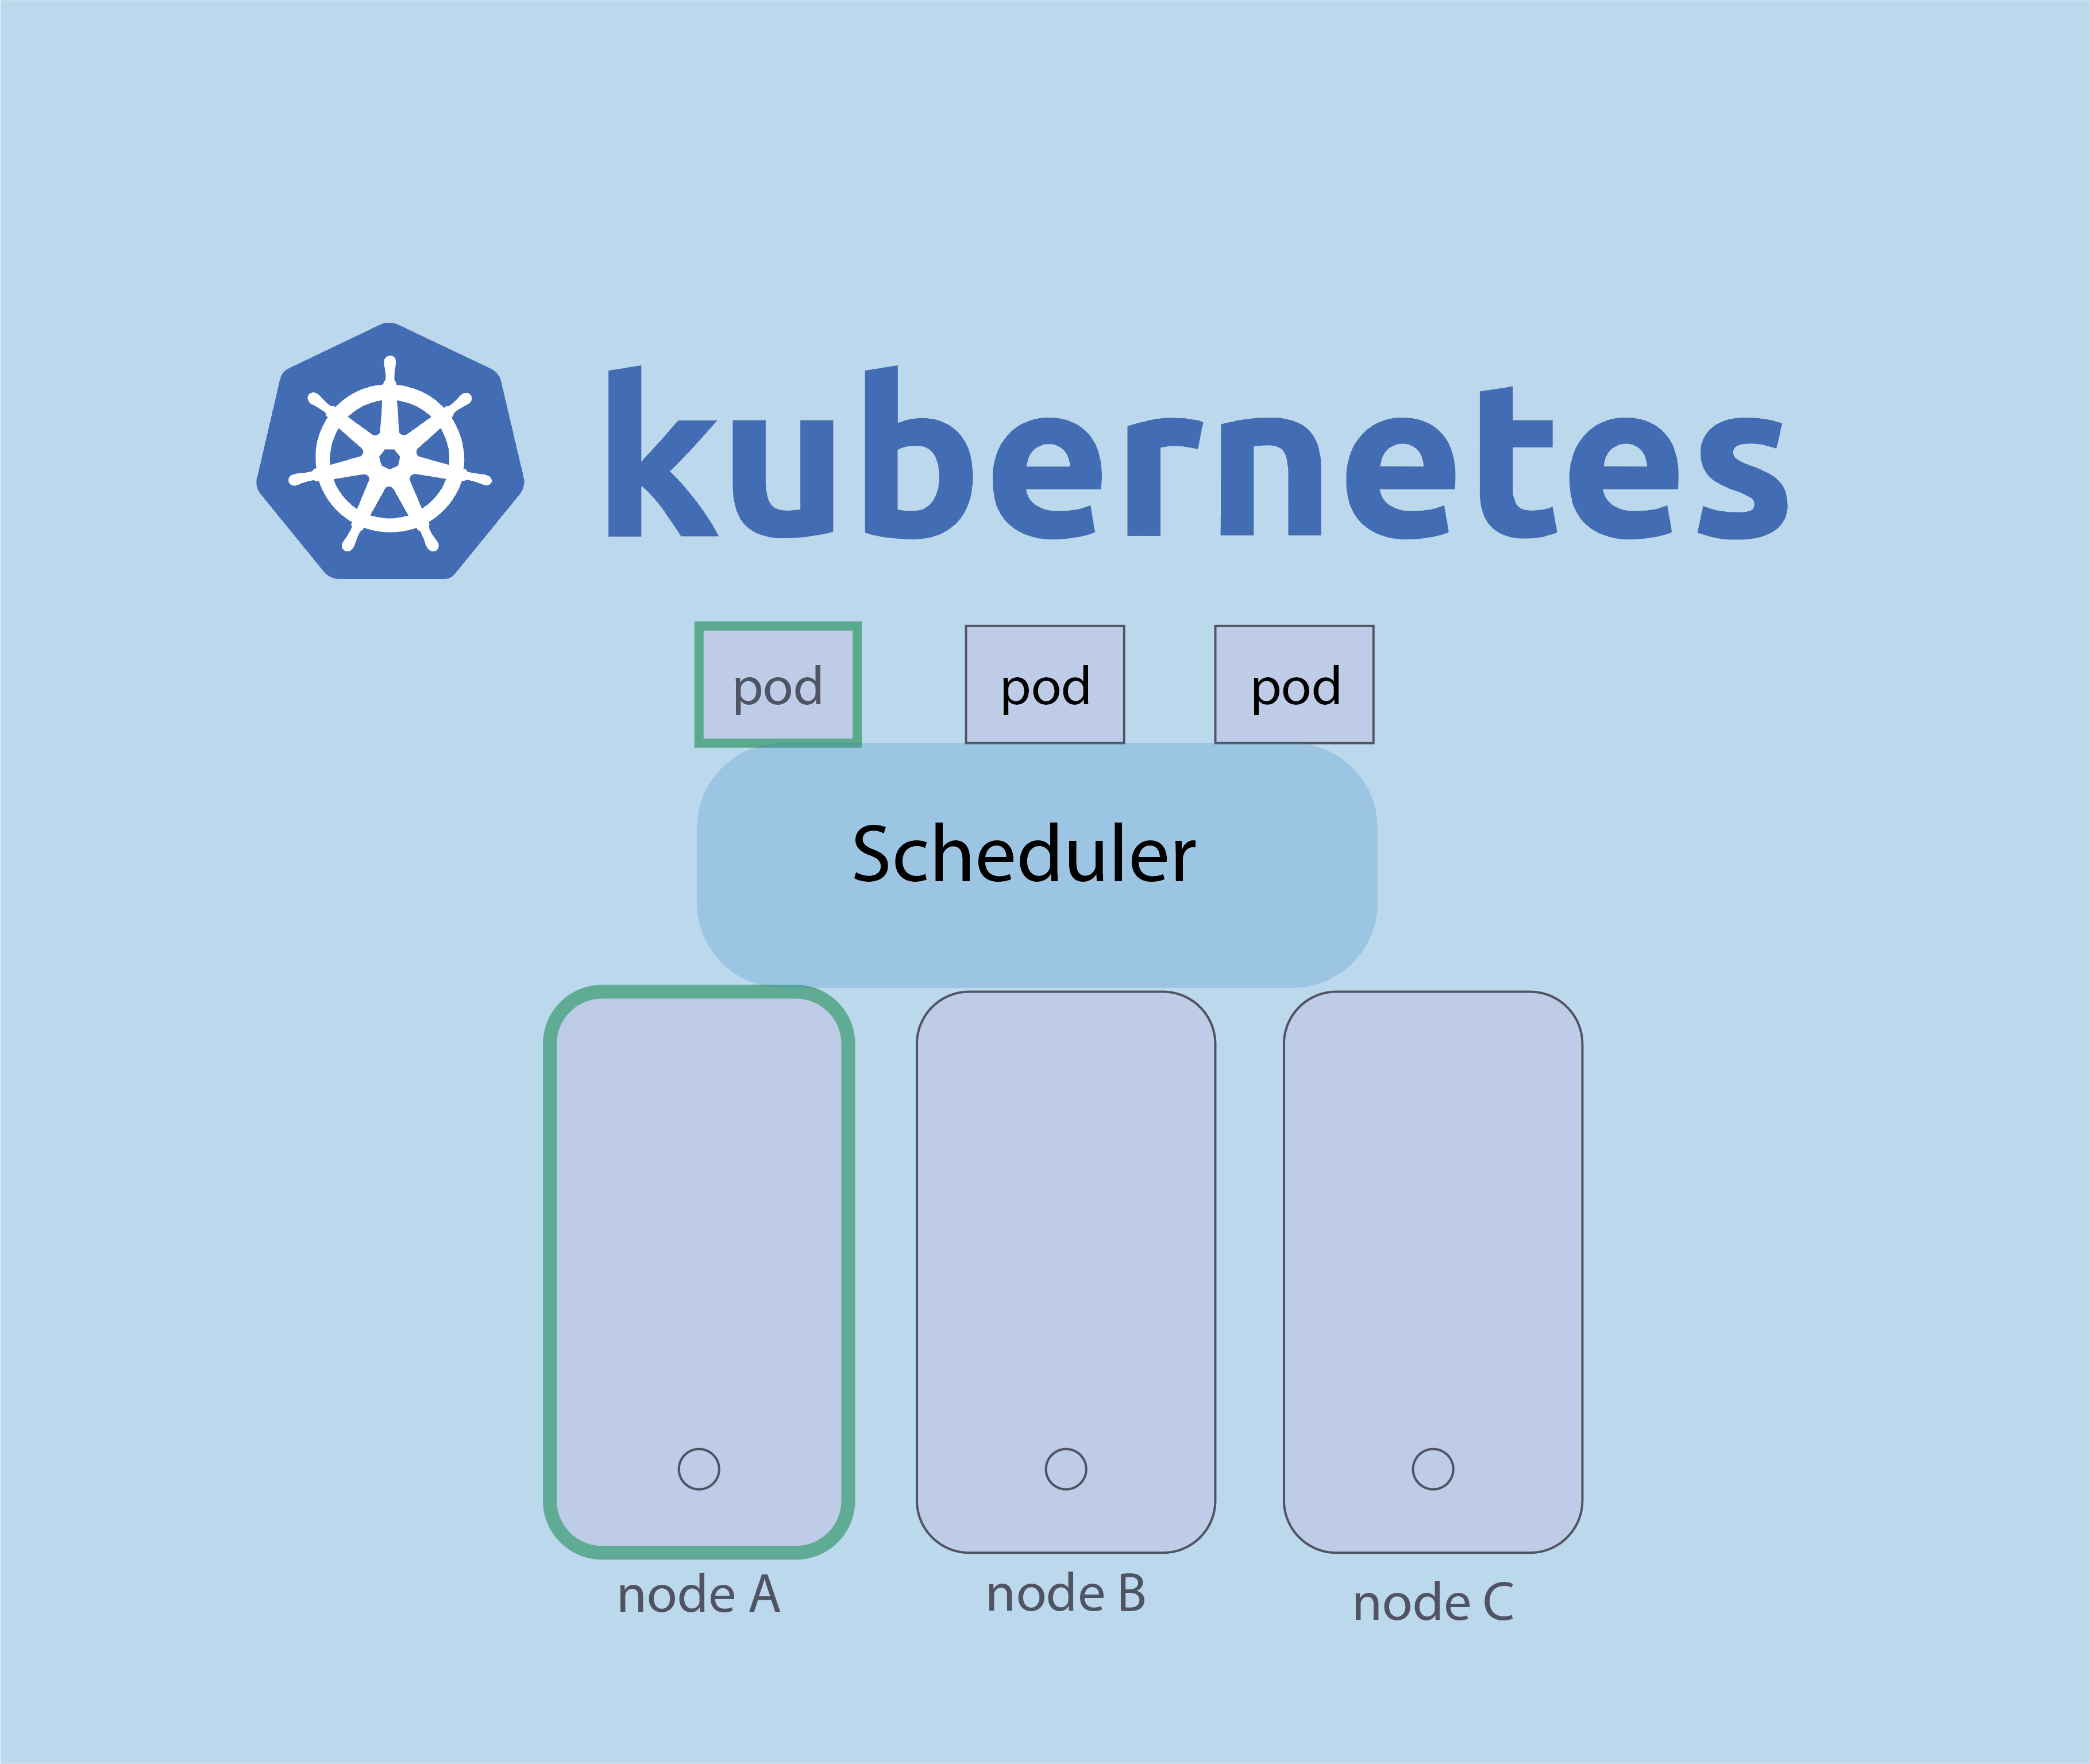
In kubernetes, The kube scheduler has one job, is to determine which node in the cluster should run a particular pod.
In this blog post, we will discover which factors the Scheduler considers to choose the appropriate node to run pods.

Manuel Scheduling
Is it possible to choose manually on which node should a pod run instead of the Sheduler ?
Yes we can, and that is what we call Manuel Scheduling. If you want that your application run on a specific node, you can do it manually.
To do that you need to specify the node name in the pod definition file. Let’s take a exemple for a better understanding.
Here is an example of pod definition file running the NGINX web server :
apiVersion: v1
kind: Pod
metadata:
  name: nginx-pod
spec:
  containers:
  - name: nginx-container
    image: nginx:latest
    ports:
    - containerPort: 80
To choose a specific node you need to set a property called nodeName in the yaml file like the following :
apiVersion: v1
kind: Pod
metadata:
  name: nginx-pod
spec:
  containers:
  - name: nginx-container
    image: nginx:latest
    ports:
    - containerPort: 80
  nodeName: node1
After you creating the pod by the following command, the pod will be placed on the node that we just specified.
# kubectl create -f nginx.yaml

In the case of manual scheduling, The kube scheduler ignore any pods where the property nodeName is set. So it bypassing the default scheduler’s decisions.
Manual scheduling can be useful in certain scenarios where you want more control over how and where your pods are deployed.
But when you have manys podes in your cluster, you will not be happy to manually schedule theme, you will certainly need scheduler’s help.
Now we will discover which factors the Scheduler considers to choose the appropriate node to run pods.
Taint & Tolerations
Kube Scheduler use taint to prevent some pods to be run in a particular node and only accept pods that tolerate this taint.
I know it can a be a bit confusing, so let’s take an example for a better understanding :

Here we have simple cluster with 3 workload and 3 pods that needs to be deployed on thoses nodes. In a normal situation ( with no restrictions), any pods can be scheduled on any nodes.

Now let us assume that we have a pod that run a critical applications ( POD A) , and we want to make sure that this application is deployed in a node ( node A) that has sufficient resources.
Not only that, we want also prevents all others pods ( that run simple application) to be deployed on the node A.
To do that we add a taint to node A and we add a toleration to Pod A to be tolerated to the taint :

In this case, the scheduler deploy only Pod A on node A and the others pods on node B & node C.
Let’s now see how we can apply this on kubernetes.
key=value and the effect
First we need to add a taint to the node by the command bellow :
# kubectl taint nodes node_name key=value:effect
The value for a taint in Kubernetes can be set to any string. Say that we want to deploy only pods that run critical applications on nodeA, the command will be like that :
# kubectl taint nodes nodeA criticalapp=yes:NoSchedule
The « effect » refers to the action that should be taken when scheduling a pod onto a node with a matching taint. There are three possible values for the effect:
- NoSchedule :
This is the behavior that we saw until now, all pods that do not tolerate the taint will not be scheduled onto the node.
- PreferNoSchedule
The Scheduler will try to avoid placing pods onto the node, but it is not guaranteed. It’s a softer restriction compared to NoSchedule. If no other nodes are available, pods without the toleration will still be scheduled on the node.
- NoExecute
This effect is used to evict existing pods from a node that no longer tolerate the taint. For example, if you add a taint to a node and there is all some pods running on it and does not have a matching toleration, pods will be evicted.
POD Toleration
As we’ve already seen, Tolerations are used to specify that a pod can be scheduled on a node with a matching taint.
To do that, we need to add a toleration to the pod’s definition file :
apiVersion: v1
kind: Pod
metadata:
  name: nginx-pod
spec:
  containers:
  - name: nginx-container
    image: nginx:latest
    ports:
    - containerPort: 80
  tolerations:
  - key: "critocalapp"
    operator: "Equal"
    value: "blue"
    effect: "NoSchedule"
We have learned how to schedule pod manually and how taint and toleration influence the scheduling decisions to control the placement of pods on nodes in a cluster.
In the next blog post we will cover other factors that Scheduler considers to choose the appropriate node to run pods.


Protocole du routage
dd (Disk Dump) : 7 exemples pratiques d’utilisation
nmap : les 12 commandes que vous devez connaître
Détruire le système avec rm -rf
Fail2Ban : How to protect Linux services